Ah, would the phrase, "Better late than never" be appropriate here? Indeed! A full week + a HALF after the little princess's "bee-day" soiree I am finally getting the post on this lovely event, well...posted! Hence the EPIC-NESS warning...I've got lots to catch up on people! But read on, because it's worth it...and there are many a link for all of my shopping adventures for said party. So with that, we will begin at the begining; what could be a more lovely way for a little girl to begin her birthday than with flowers from her daddy?...  I'm not sure exactly what the deal is, but it seems that when it comes to throwing a party, no matter how much time I think I have, I always end up running a bit behind! I was left to defer to my Mister to be the photographer...only to realize now that he missed one or two shots from the party that I would have liked to have shared with you! One such photo would have been a still life of the entire kitchen/ great room area; the island decor made complete with sheer sparkle material {in pale yellow from Jo-Ann Fabrics} for a table cloth + center piece doctored up from last year's fairie party. It really was quite lovely. But moving on to what we were able to capture, let's begin with the Buzzy Bee Headbands! I have found that headbands make wonderful "costuming" for at home parties + excellent party favors for guests to take home!
  Let's say that I have a WHOLE NEW APPRECIATION for the clay work done by geniuses like Tim Burton after making all of these bees from crayola molding clay { which is super light when dry, so it was perfect for the headbands}. The wings were made from bits of faux flowers hot glued to jewelry wire...the same wire, incidentally, that we used to secure the suspended bee to the headband {After, I wrapped the wire with floral tape}. Headbands were purchases here on Etsy.
 I think special lollipops are such a nice alternative to favor bags filled with random sugary candy...so I made these! Just google chocolate/ candy/ lollipop mold and loads of options should pop up! Yeah, I know. My Mum just shook her head and said, "oh, to be SO OCD", while she watched as I painted each color of chocolate into the molds so that my bees looked like bees...slightly demented, but SO PRETTY!
 And what was on the menu you ask? Champagne Sangria {MAKE THIS!!...you can thank me later!}, mini quiche + an endive, artichoke + edamame salad for the grown up folk. For the bee-utiful little girls...strawberries + blueberries with pistachio dip and a variety of finger sandwiches: P-Nut Butter, Cheese + Cream Cheese with Lemon Conserve. They were quite the hit...and I'm guessing that using these Bee Hive + Honey Bee cookie cutters {Amazon.com} didn't hurt!
 What would a party be without balloons and plenty of treats? Since I went a little egg + cheese happy with the food, I kept the dessert on the Vegan side: Lemon Bee Hive Cake {Mold + Little Sugar Bees}, Banana Mini Muffins with Vegan Chocolate drizzle and these Coconut Lime Mini Cupcakes. {Cards, letter stamps, bee stickers + cupcake wrappers courtesy of Michael's Crafts}.
 And a party should have an activity, correct? So this year we made little bracelets! Here was the one I made the day before the party as a reference for the kiddos.
 My Mum + I had presorted the beads into these adorable paper dishes {from Michael's- found in the baking section! These were the most similar they offered online, still very cute!} When it was time to get our craft on, each child was given a dish of beads {purchased from Michael's}, a honey bee charm, a bee hive charm found here and the pre measured wire with toggle clasp already attached. All of this prep made the craft run rather smoothly, allowing us to move right along to cake eating!

 Oh, it is so unfair how quickly those little knuckle dimples start to disappear... and what a heart-breakingly beautiful little lady she has become! I might say that I am slightly relieved that she has 2 brothers + a daddy with many a tattoo to keep any boy suiters in check when she is older...but no need, she is as tough as she is beautiful...that's my girl!
 Brining us to the end of the party... it seems a rather smart custom that rather than attempting to have a group of very small children sit patiently + watch the birthday little open their gifts; that now, gift opening is saved for after the party has ended...leaving much more time for chatting + PLAYING!! On behalf of the Fif, I have to thank everyone for comming over to celebrate her special day with us + for giving her such thoughtful gifts! Here are just a couple that kept with the bee theme that I wanted to post the links for:
 The bee backpack from my Mum was a huge hit: perfect for carrying around all of the Fif's new art supplies, Littlest Petshop + Calico Critter toys her friends gave her! And the Bee Wheely Bug was actually a 1st Bee-Day gift! We now have 2 of these Wheely Bugs in both the large + small sizes and I can;t tell you how much all 3 of my littles enjoy riding them around!
 And this last gift {photo above} was for me! Ok, the lovely little Anthro cupcake apron was for the Fif, but the gardening journal was for Mama from a fellow gardening enthusiast girlfriend of mine! I think this is tradition we should all encourage: that the mama's should get the presents on the kids birthdays! What a wonderful idea! Don't you agree? I've been spending lots of time thinking about + watching our front yard farm grow like crazy these last few weeks, so this book will be put to good use as I have a good amount to journal...and many a photo to share here as well!
 Thanks for being patient with me until I pulled my act together...or rather, tied-myself-to-one-place-long-enough to get this post written! It can be hard to find a still moment when the weather warms up + you have 3 little folk on the move! I'm glad I was finally able to steal a moment...I DO hope you have all been as busy enjoying the spring season as we have!
xo.
 I'm not sure exactly what the deal is, but it seems that when it comes to throwing a party, no matter how much time I think I have, I always end up running a bit behind! I was left to defer to my Mister to be the photographer...only to realize now that he missed one or two shots from the party that I would have liked to have shared with you! One such photo would have been a still life of the entire kitchen/ great room area; the island decor made complete with sheer sparkle material {in pale yellow from Jo-Ann Fabrics} for a table cloth + center piece doctored up from last year's fairie party. It really was quite lovely. But moving on to what we were able to capture, let's begin with the Buzzy Bee Headbands! I have found that headbands make wonderful "costuming" for at home parties + excellent party favors for guests to take home!
  Let's say that I have a WHOLE NEW APPRECIATION for the clay work done by geniuses like Tim Burton after making all of these bees from crayola molding clay { which is super light when dry, so it was perfect for the headbands}. The wings were made from bits of faux flowers hot glued to jewelry wire...the same wire, incidentally, that we used to secure the suspended bee to the headband {After, I wrapped the wire with floral tape}. Headbands were purchases here on Etsy.
 I think special lollipops are such a nice alternative to favor bags filled with random sugary candy...so I made these! Just google chocolate/ candy/ lollipop mold and loads of options should pop up! Yeah, I know. My Mum just shook her head and said, "oh, to be SO OCD", while she watched as I painted each color of chocolate into the molds so that my bees looked like bees...slightly demented, but SO PRETTY!
 And what was on the menu you ask? Champagne Sangria {MAKE THIS!!...you can thank me later!}, mini quiche + an endive, artichoke + edamame salad for the grown up folk. For the bee-utiful little girls...strawberries + blueberries with pistachio dip and a variety of finger sandwiches: P-Nut Butter, Cheese + Cream Cheese with Lemon Conserve. They were quite the hit...and I'm guessing that using these Bee Hive + Honey Bee cookie cutters {Amazon.com} didn't hurt!
 What would a party be without balloons and plenty of treats? Since I went a little egg + cheese happy with the food, I kept the dessert on the Vegan side: Lemon Bee Hive Cake {Mold + Little Sugar Bees}, Banana Mini Muffins with Vegan Chocolate drizzle and these Coconut Lime Mini Cupcakes. {Cards, letter stamps, bee stickers + cupcake wrappers courtesy of Michael's Crafts}.
 And a party should have an activity, correct? So this year we made little bracelets! Here was the one I made the day before the party as a reference for the kiddos.
 My Mum + I had presorted the beads into these adorable paper dishes {from Michael's- found in the baking section! These were the most similar they offered online, still very cute!} When it was time to get our craft on, each child was given a dish of beads {purchased from Michael's}, a honey bee charm, a bee hive charm found here and the pre measured wire with toggle clasp already attached. All of this prep made the craft run rather smoothly, allowing us to move right along to cake eating!

 Oh, it is so unfair how quickly those little knuckle dimples start to disappear... and what a heart-breakingly beautiful little lady she has become! I might say that I am slightly relieved that she has 2 brothers + a daddy with many a tattoo to keep any boy suiters in check when she is older...but no need, she is as tough as she is beautiful...that's my girl!
 Brining us to the end of the party... it seems a rather smart custom that rather than attempting to have a group of very small children sit patiently + watch the birthday little open their gifts; that now, gift opening is saved for after the party has ended...leaving much more time for chatting + PLAYING!! On behalf of the Fif, I have to thank everyone for comming over to celebrate her special day with us + for giving her such thoughtful gifts! Here are just a couple that kept with the bee theme that I wanted to post the links for:
 The bee backpack from my Mum was a huge hit: perfect for carrying around all of the Fif's new art supplies, Littlest Petshop + Calico Critter toys her friends gave her! And the Bee Wheely Bug was actually a 1st Bee-Day gift! We now have 2 of these Wheely Bugs in both the large + small sizes and I can;t tell you how much all 3 of my littles enjoy riding them around! And this last gift {photo above} was for me! Ok, the lovely little Anthro cupcake apron was for the Fif, but the gardening journal was for Mama from a fellow gardening enthusiast girlfriend of mine! I think this is tradition we should all encourage: that the mama's should get the presents on the kids birthdays! What a wonderful idea! Don't you agree? I've been spending lots of time thinking about + watching our front yard farm grow like crazy these last few weeks, so this book will be put to good use as I have a good amount to journal...and many a photo to share here as well!
 Thanks for being patient with me until I pulled my act together...or rather, tied-myself-to-one-place-long-enough to get this post written! It can be hard to find a still moment when the weather warms up + you have 3 little folk on the move! I'm glad I was finally able to steal a moment...I DO hope you have all been as busy enjoying the spring season as we have!
xo.
My Mister is on vacation this week...I'm thinking a random tuesday sounds like an exceptionally perfect day for a Champagne Sangria!


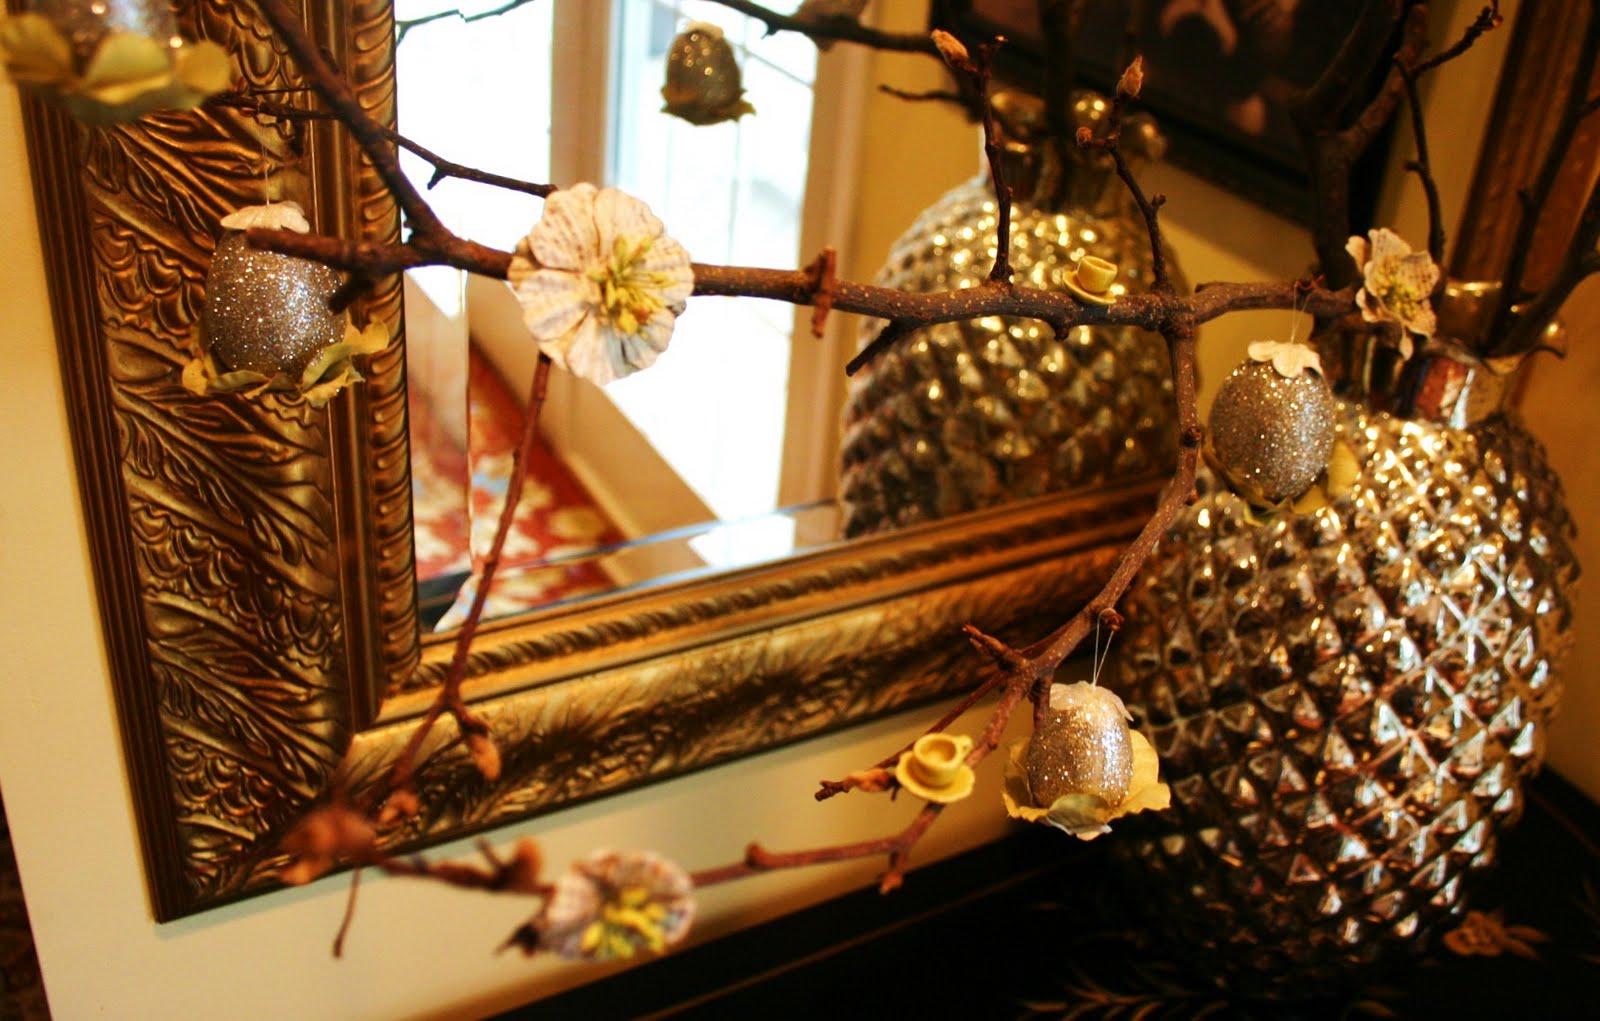
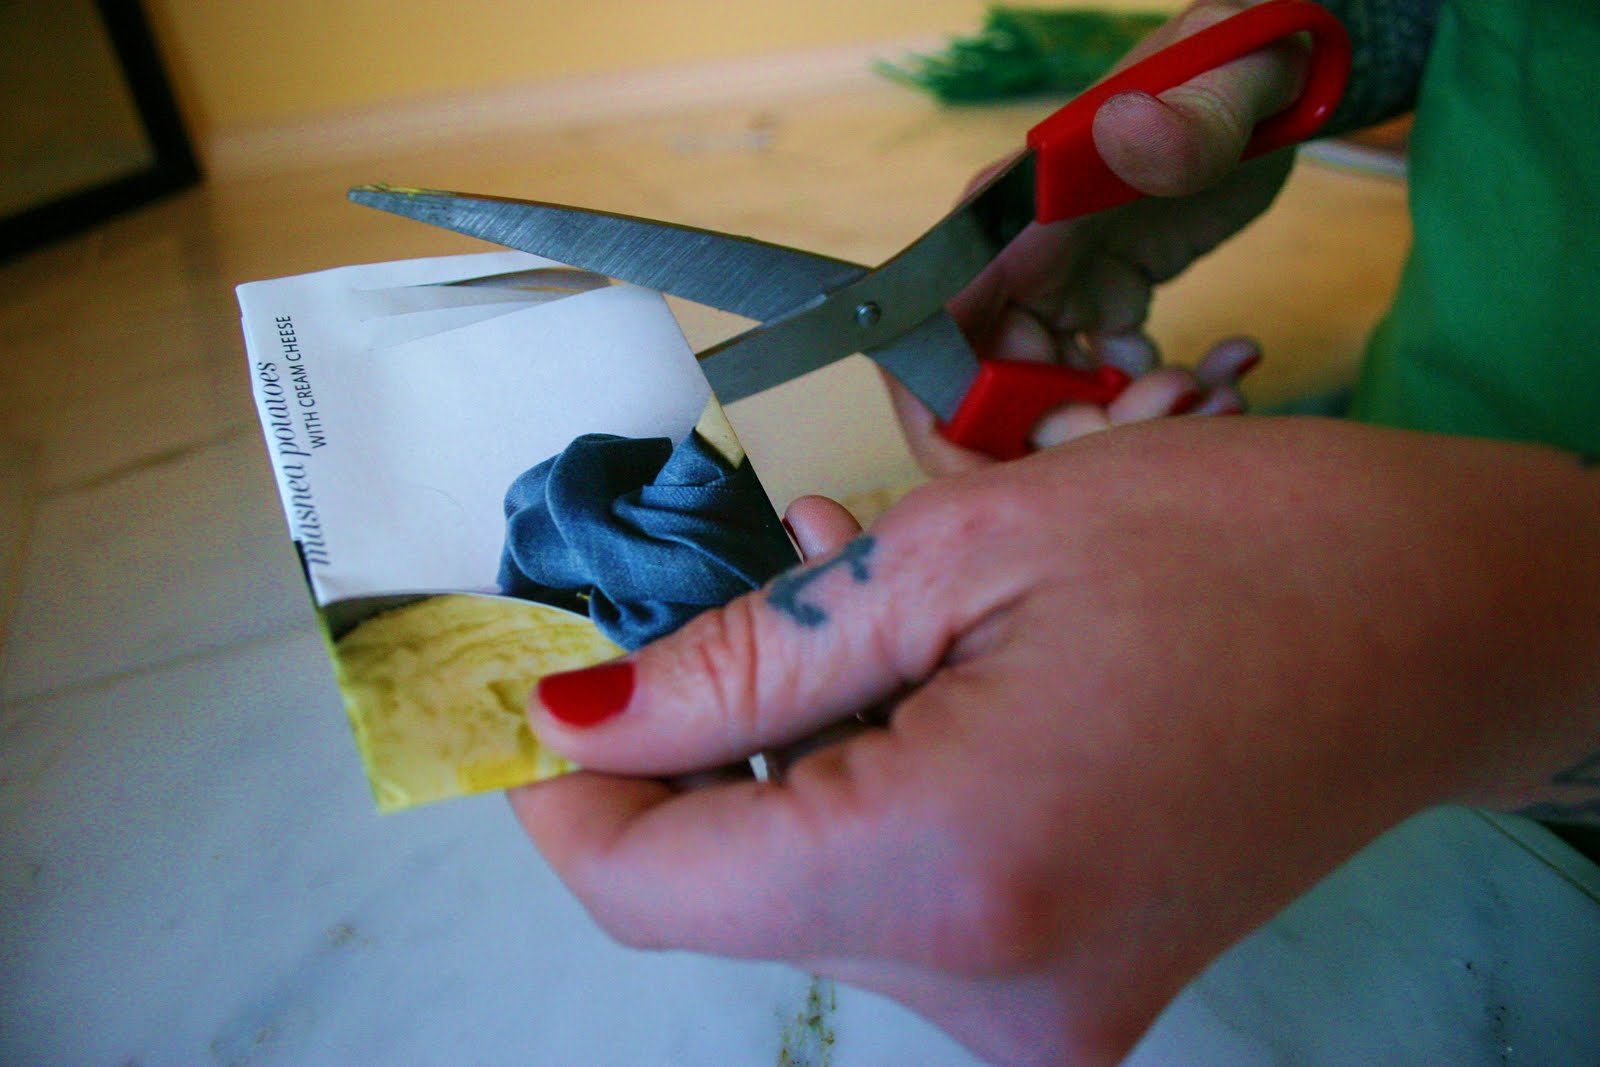
 I found a jar of these great little flowers {in assorted sizes} on sale in the craft store. They looked as if they had been made from old newspapers...very fun, yet also kind of neutral. I have a fetish for mixing things that seem more natural/organic with elements that are on the flashy side. Even when it comes to clothes, I love wearing jeans + a vintage CBGB's t-shirt...with a fablous cardigan complete with jeweled buttons. Know what I mean? It just works for me...and so that is what I decided I'd do here too...